Maintenance
Operations to do when owning a SmartBench
100 Operational Hours Check
Items to check and maintenance to perform every 100 hours of use.
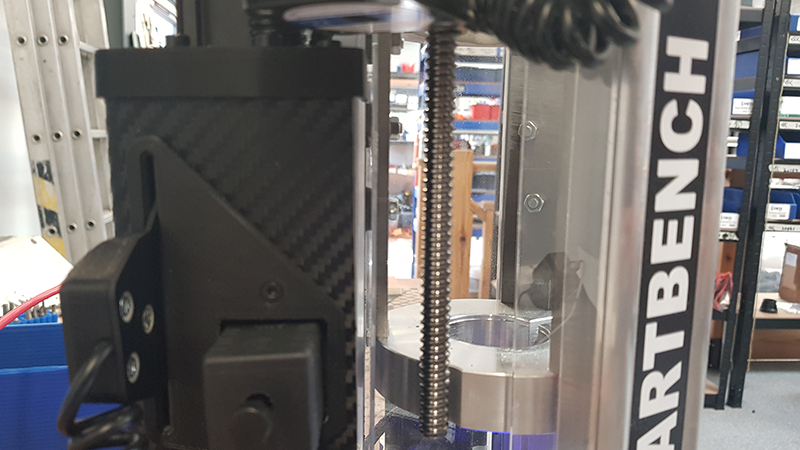
Lube the Z Axis Lead Screw
- Clean away any debris that might have built up from the Z Axis lead screw.
- Apply a multi purpose grease to the whole length of the Z Axis lead screw.
- After applying the grease run the Z Axis up and down to it's full extent to ensure the grease is covering all control surfaces.
- Remove any excess grease at the upper and lower ends of the lead screw with a cloth.

320 Operational Hours Check
Items to check and maintenance to perform every 320 hours of use.
Axis Wheel Setting (X and Y)
- Follow the video instruction to check if you need to adjust your axis wheel seetings
- If wheel adjustments are made follow the calibration proceedure below
Squaring the Axis
- Follow the video instruction to make sure the X and Y axis are square after 320 hours of operation or after replacing or using a different or new Lower X Beam.
- If wheel adjustments are made to square the axis follow the calibration proceedure below
Axis Wheel Setting (X and Z)
- Follow the video instruction to check if you need to adjust your axis wheel seetings
- If wheel adjustments are made follow the calibration proceedure below
Calibration Check
- Calibrating you SmartBench is a critical factor in maintaining cutting accuracy and performance.
Calibrating will be necessary in the following situations:
- Significant changes in temperature
- The fitting of warranty replacements
- Excessive vibrations in transit
- Regular maintenance checks (every 320hrs of use)
- SmartBench now comes with a calibration wizard, which should make calibrating quick and easy.
- See our walkthrough video below for your step by step guide!

